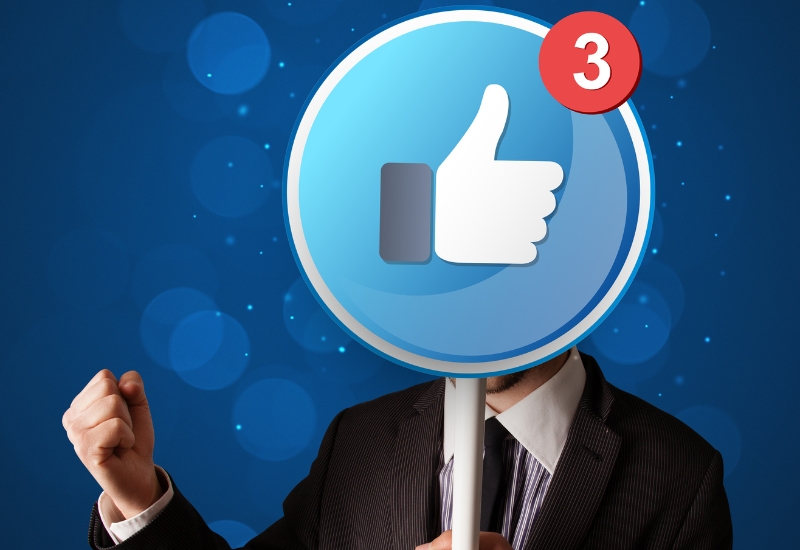
Facebook is a great place to showcase your life and share continents but the comparison has caused a lot of damage to people’s mental health. Facebook has featured a hide option if you don’t want to judge or be judged based on several likes over the social platform. Share media for the sole purpose of putting it out without needing to know the counts. To know how to hide likes on Facebook scroll down and learn from our easy step-by-step guide.

A post without the like counts also doesn’t mean you don’t have to like that post, likes will help in engagement. Hides still record likes on your posts so the purpose of the like button still prevails even if you choose to hide them. So if you are questioning if that’s a good idea then yes you should hide your posts. In this blog, you’ll learn everything about hiding likes on Facebook.
What is the purpose of hiding likes on Facebook?
As much as we like getting likes on our posts, we hate those unsatisfied feelings of wanting more and then falling into the pit of comparison and unhappiness. We understand how quality and effort put on the post gets washed and agony takes over. Here is what you should know about likes, the purpose of hiding likes on Facebook
1. Likes don’t define your content
In case you are wondering if you should hide your like count, go ahead because likes don’t define your content. Sometimes we create something that needs to be understood by many. Other’s opinions don’t define your efforts as anything less. You love your work, that’s all it matters.
2. Creates negative impact
Sometimes having fewer likes than what the post deserves creates a negative impact on the audience. They immediately judge the quality of it and stop liking or sharing it with others. Not getting enough likes can create a negative impact on your mental health too. To avoid such circumstances you can hide the likes. Facebook’s algorithm also works on likes. The better engagement the better its chances to get pushed to other audiences.
3. Removes the pressure of likes
If you are starting your account or page, hiding likes will remove the pressure of focusing on likes. You should focus on putting efforts and energy into creating better content Facebook will make sure to help you reach your audience. People sometimes follow you after seeing your likes on posts. Hiding the likes will remove the comparison mindset.
4. A healthy practice to socialize
Hiding likes on Facebook is designed to focus more on the content, the pictures and videos, and the ideas and messages they convey rather than their likes. This kind of socializing on online platforms fosters healthy relationships and healthy minds. The growing number of people’s media consumption and mental health has made Facebook come up with this healthy practice.
How To Hide Likes On Facebook From A Desktop
So you are looking for ways to hide likes on Facebook? Here, with our easy step-by-step guide, you can easily hide likes from your desktop. Just follow the steps given below:
- Open your Facebook account from the website on your laptop.
- Now click on your profile icon from the top right corner of your screen.
- Next, click on the ‘settings & privacy’ option.
- From settings & privacy click on the ‘settings’ option.
- Go to ‘preferences’ on your left-hand side.
- Under the preferences column, click on the ‘reaction preferences’ option.
- Now you’ll get two options to choose from under the ‘hide number of reactions’ column.
- From ‘on posts from others & ‘on your posts’ turn on the ‘on your posts’ option to hide likes from your posts.
This is how you can prevent other people from seeing likes from content that you share on the Facebook platform. This was a simple guide to try on your desktop. Feel free to use these steps in case you want to use Facebook for a more positive and mental peace experience.
How To Hide Likes On Facebook From The Mobile App
Hide likes on Facebook from the mobile app in easy steps. We will guide you to get over the insecurity and pressure of having likes as validation for quality content. With features like these Facebook is helping you build a better user experience creating continents and having a healthy environment supporting each other. Learn our step-by-step guide to hide likes on your account from the app in mobile here:
- Log in to your account from the mobile Facebook app.
- Press the menu button from the bottom right corner of your mobile phone.
- Now click on the ‘settings’ icon from the top right side of your mobile.
- This will bring you to the ‘settings & privacy’ option.
- Now scroll down to find the ‘Preferences’ option and tap on it.
- From here, press the ‘reaction preferences’ option to proceed further.
- Now, the ‘Hide number of reactions’ column will appear with two options to choose from.
- Choose the ‘on your posts’ option to hide likes on Facebook your account if you don’t want people to see likes on your posts. This applies to all new and old posts.
You can also choose to tap on the other option, ‘on posts of others’ if you don’t want to see the total number of reactions to posts from other pages, groups, and people shared on your news feed.
How To Hide Likes On Facebook Business Page
Hiding likes on Facebook’s business page can help businesses start with fewer or no reactions. The sole purpose is to create continents that can reach their target audience. With our simple easy guide, learn how to hide likes on the Facebook business page below:
- Log in to your business page from the desktop.
- Click on your profile icon from the top right corner of your screen.
- Now press the ‘settings’ option to proceed further.
- Go to the ‘Privacy’ option from the settings.
- Next, click on the ‘reaction preferences’ from the bottom of the drop-down list.
- Finally, turn on the ‘on your posts’ options to hide likes from your business Facebook page.
This will hide the total number of likes on your business page though reaction counts will be still visible. You can now remove stress from the likes and create posts for your business. Promote messages about your brand to your target audience freely on this platform.
How To Hide Liked Pages On Facebook
Anyone visiting your profile can derive a lot of information about the kind of pages you like and follow. That’s fine, to have your preferences in categories you like. In case you want to hide liked pages from your account we’ve got you an easy step-by-step guide to follow and get the work done in minutes.
- Follow these easy-peasy steps to hide your liked pages on Facebook:
- Open your Facebook account and click on the profile icon from the right top corner of your screen.
- Click on your name and this directs you to your profile.
- Now, below your profile photo, you’ll see options like- posts, about, photos, friends, reels, & more.
- Click on ‘more’ and you’ll see a drop-down list with options- check-ins, sports, music, TV shows,& likes.
- Tap on the ‘likes’ option to proceed further.
- Now go to the three dots in the right corner and press it.
- Here you’ll get two options, tap on the ‘edit the privacy of your likes’.
- It’ll bring you to all the categories and genres of pages you’ve liked.
- Besides each category, a global icon is available to press on it and customize based on ‘public, friends, & only me’.
- Click on only me to each page category that you want to hide from seen and press ‘save’ to finish it up.
And thus you’ll hide people from seeing which pages you’ve liked.
Conclusion
We hope our blog helped you figure out how to hide likes on Facebook and the advantage you take from this feature. Knowing how to hide likes on Facebook can help you keep your mental health on point while still socializing with the online platforms. We can try our best to make this place a positive environment to interact in and showcase your creative skills. Leave behind the pressure of perfection and hop on to Facebook to create your absolute magic content.
More Related Post
How to Download Facebook Story And Video Online?
How to Run Facebook Contest To Boost Your Business
Facebook Messenger Ads : A Beginner’s Guide